Panels Installation
Helpful Videos
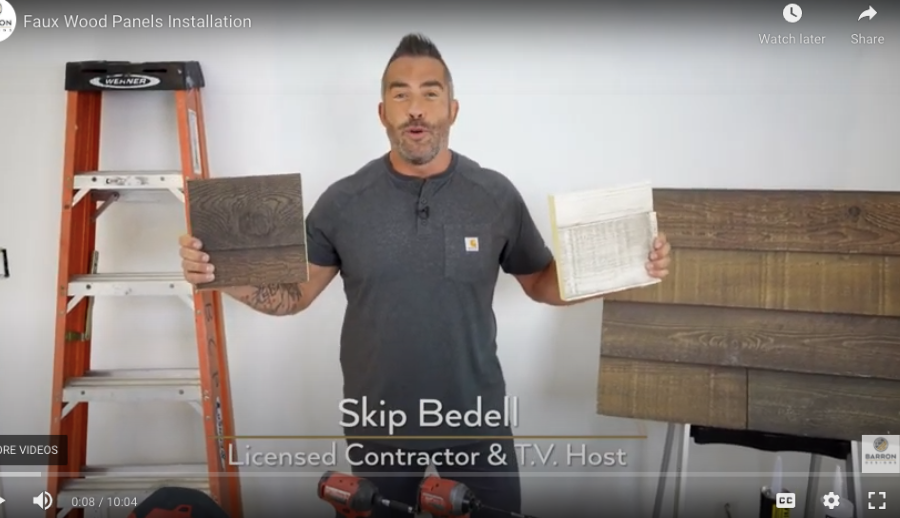
Faux Wood Panels Installation
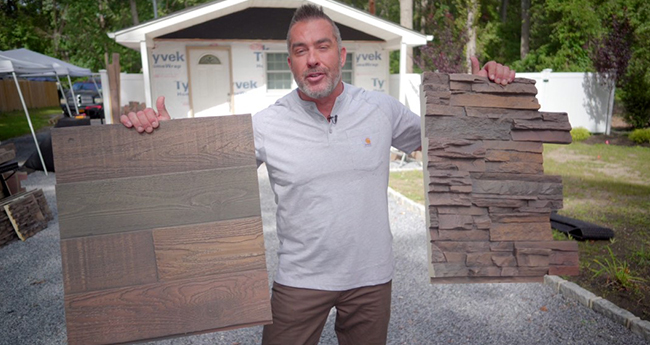
Home Panel Installation With Skip Bedell
Watch how quick and easy remodeling any home can be with our products.
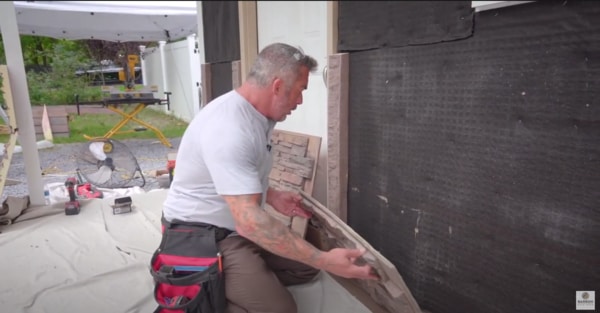
Panel Installation
3 min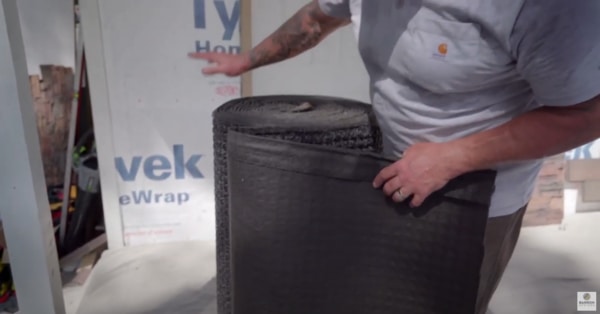
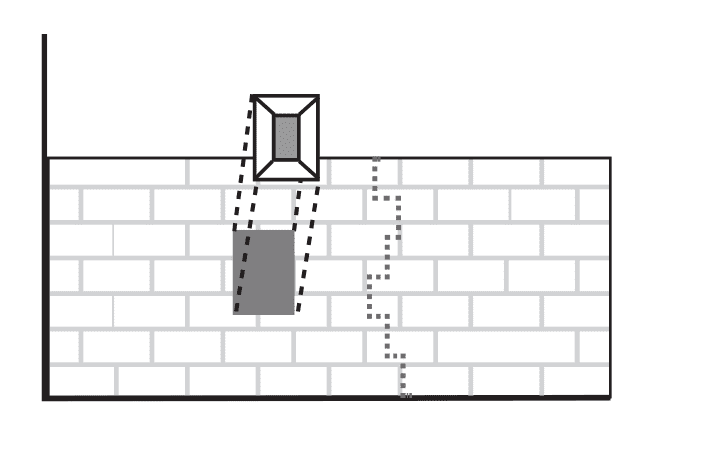
Drainage Mat Installation
1:38 min
Trim Installation
1:22 min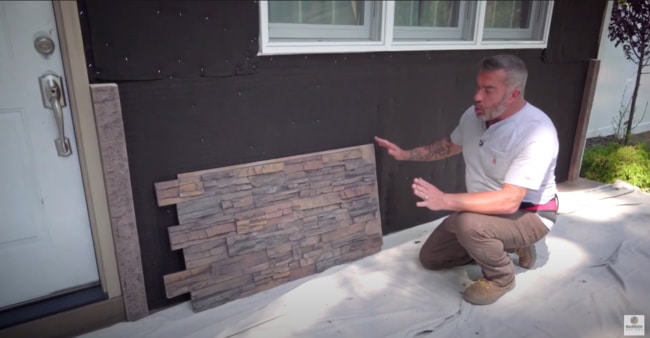
Orienting Panels
1:43 min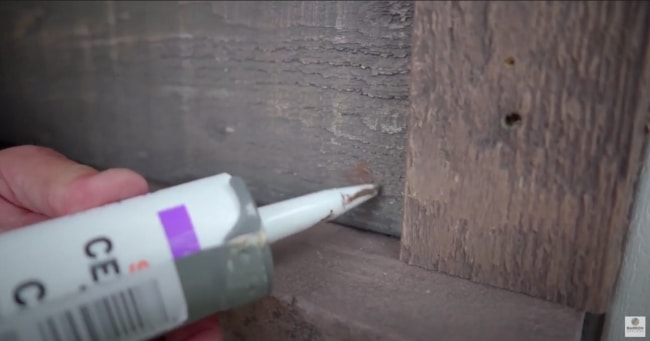
Touch Up Instructions
0:31 sec
Installing Ledger Trim
0:52 sec
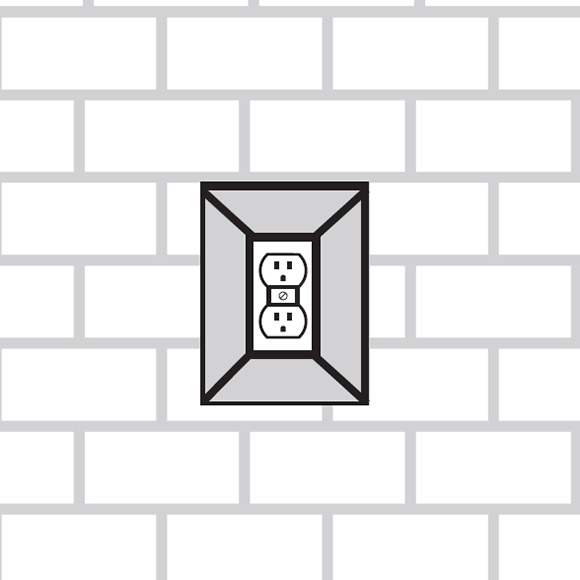
Installing Panels Over Cables and Outlets
0:42 sec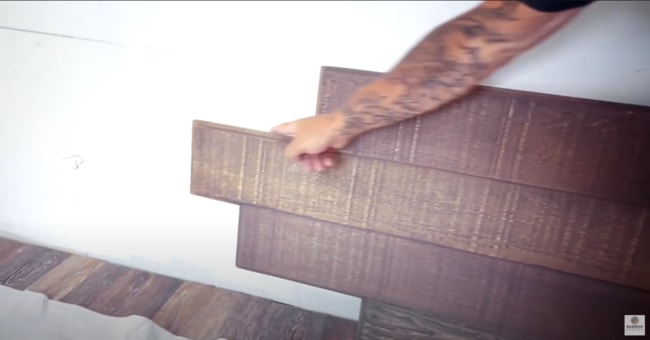
Installing Panels the First Row of Panels
2:09 min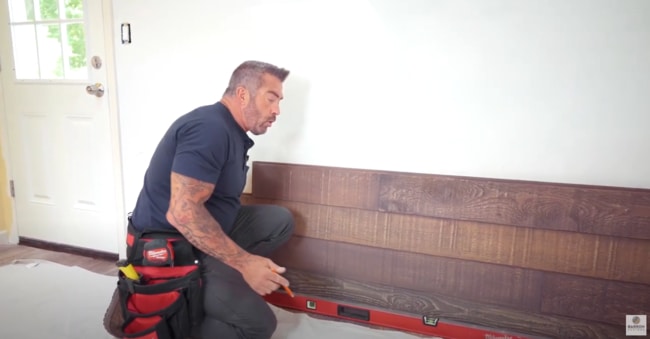
Installing Panels When Your Floor is Not Level

Trimming Panel for Wainscoting
1:06 min